Table of contents
ToggleHow to Install and Activate an eSIM on your iPad?
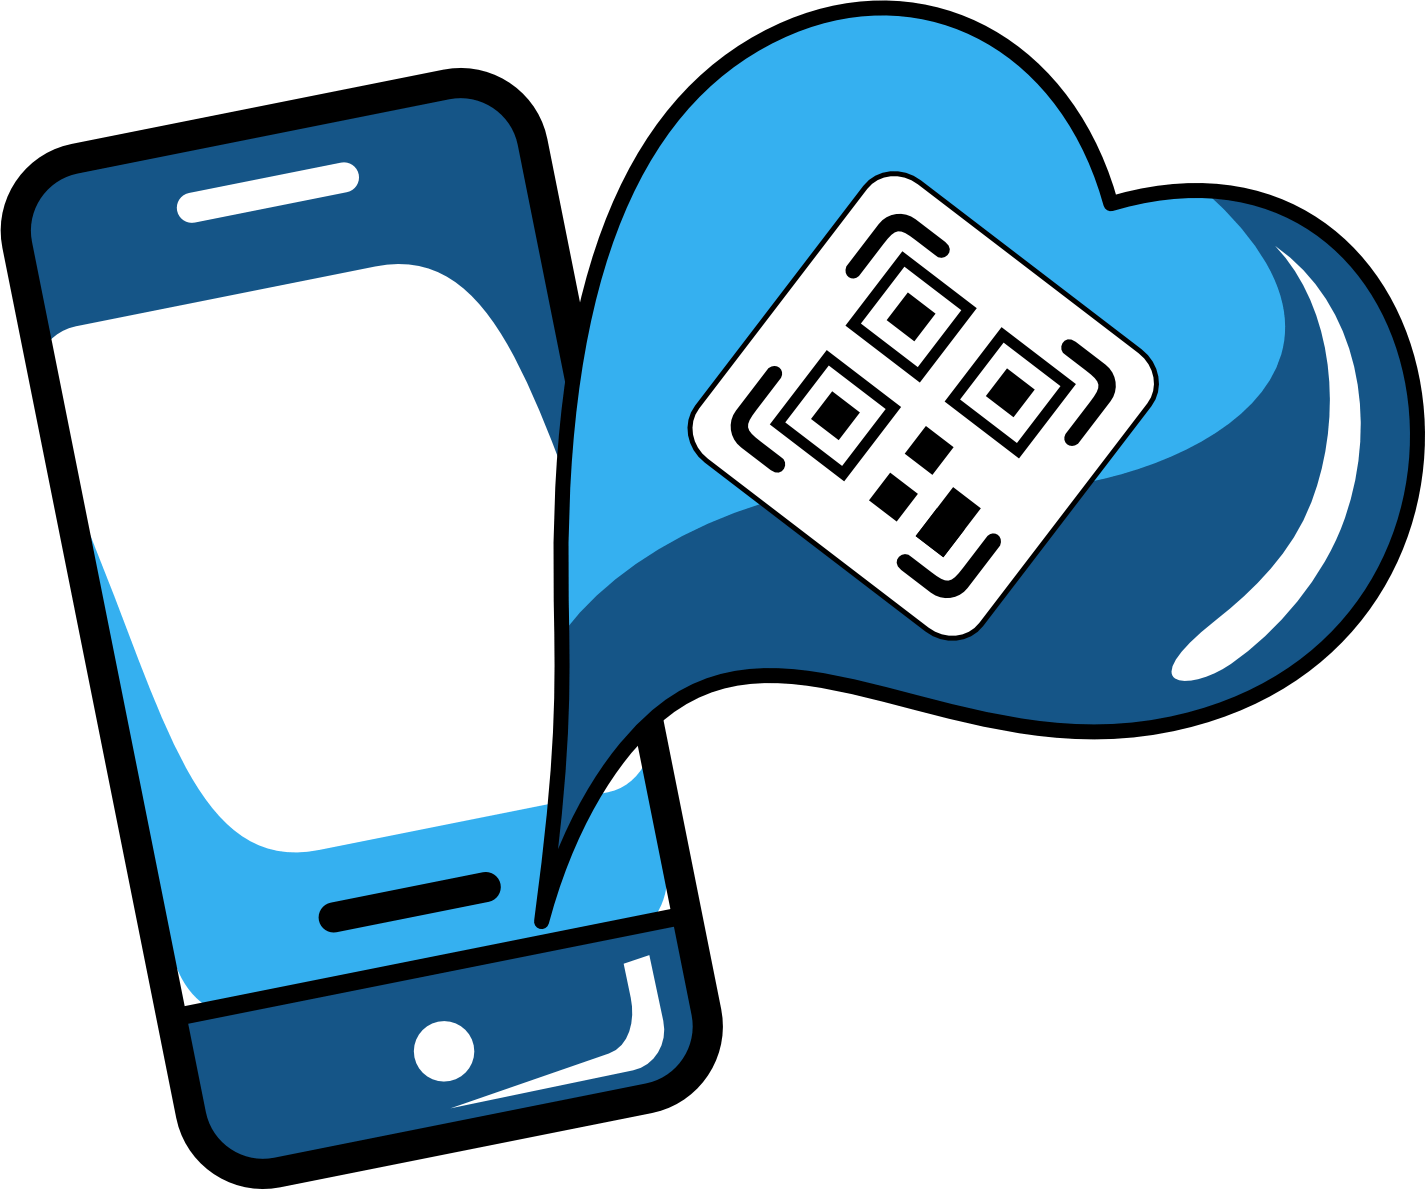
Traveling and staying connected from your iPad has never been easier. If your device is compatible and unlocked, you can install and activate your Free Roaming eSIM by scanning a QR code or entering the details manually. In this guide, we’ll show you how to do it step by step—quickly and safely.
To keep in mind
Before installing and activating your eSIM on an iPad, make sure you have everything you need:
- A stable and reliable Wi-Fi connection.
- The QR code or manual codes that are provided via email.
- Your iPad must be eSIM-compatible and unlocked by your carrier.
- Install your eSIM at least one day before your trip.
- Wait until you arrive at your destination before you activate the data plan.
- If one installation method doesn’t work, try another. iPads offer several ways to set up an eSIM.
Does your iPad support eSIM?
Not all iPads can use an eSIM. Only models with Wi-Fi + Cellular connectivity are compatible. Make sure your device is on the list, and also check if your carrier and region support this feature. This is a key step to ensure everything works smoothly.
These are the iPads currently compatible with eSIM:
- iPad Pro 13-inch (M4)
- iPad Pro 12.9-inch (3rd to 6th generation)
- iPad Pro 11-inch (M4)
- iPad Pro 11-inch (1st to 4th generation)
- iPad Air 13-inch (M3)
- iPad Air 11-inch (M3)
- iPad Air 13-inch (M2)
- iPad Air 11-inch (M2)
- iPad Air (3rd to 5th generation)
- iPad (A16)
- iPad (7th to 10th generation)
- iPad mini (A17 Pro)
- iPad mini (5th and 6th generation)
How to install the eSIM on your iPad?
Installing a Free Roaming eSIM on your iPad is a simple process. Below, you’ll find detailed steps for each available installation method.
To install the eSIM on your iPad Using a QR Code:
- Go to Settings → Cellular or Mobile Data → Tap on Add a new plan → Select option Use QR Code → Scan the QR Code → Tap Continue when the Activate eSIM screen appears (this step is just to proceed with the setup, but the eSIM will not be activated yet) → Continue with the setup.
To install the eSIM on your iPad using Manual Codes:
- Go to Settings → Cellular or Mobile Data → Tap on Add a new plan → Select option Use QR Code.
- Then select Enter details manually → Copy and paste the SM-DP address and Activation Code found in the purchase confirmation email → Next → Tap Continue when the Activate eSIM screen appears (this step is just to proceed with the setup, but the eSIM will not be activated yet) → Continue with the setup.
- When you see the “Cellular Setup Complete” message, your Free Roaming eSIM is installed, and you can finish configuring it.
To complete the eSIM setup on your iPad:
- Click “Done” when the “Cellular Setup Complete” screen appears → Assign a name to your new line (it can be Free Roaming followed by the name of your destination) → Choose your default line for messages and calls → Select the “Personal” option to continue using your number in iMessage and FaceTime → Select the Free Roaming eSIM for Cellular Data.
How to activate the eSIM on your iPad?
Your eSIM is already installed, now it just needs to be activated. Do this once you arrive at your destination to avoid losing usage days. It’s also important to turn off your primary SIM or eSIM to prevent extra charges. Here are the steps to activate it on your iPad:
- Go to Settings → Cellular or Mobile Data → Turn on Cellular Data → Select Cellular Data Options → Enable Data Roaming.
Troubleshooting tips
If your iPad isn’t connecting after enabling roaming at your destination, you may need to manually select the network. If the issue continues, your device may require custom APN settings to establish the connection. Here’s how to do it step by step:
- Go to Settings → Cellular Data → Choose your Free Roaming eSIM → Then Network Selection → Disable Automatic network selection and wait for available operators to load → Try the operators you see on your screen → Choose the one that generates the best signal for you → Try to connect it again.
Free Roaming Support
·
Published: May 23, 2025
·
Updated: May 23, 2025
Any more questions?
For any other questions or additional assistance, our Customer Support chat is available 24/7.

 Spanish
 Français
 English